Simply Beautiful By Angela

creating simple beauty on a budget

  • Home Tours
  • Projects
  • Legal
  • Link Parties
  • Let’s Chat!
  • About Me

Transfer Printed Image to Wood (The Easy Way!)

June 19, 2017

Hello and happy Monday!

When it comes to wall art I really like to make my own because (a) it’s cheap, and (b) it can be customized to look exactly how I want it to. 

I usually create my images on Canva.com and then transfer it by creating an indentation with a pen and fill it in with sharpie or paint like I did for my DIY Farmers Market Sign.

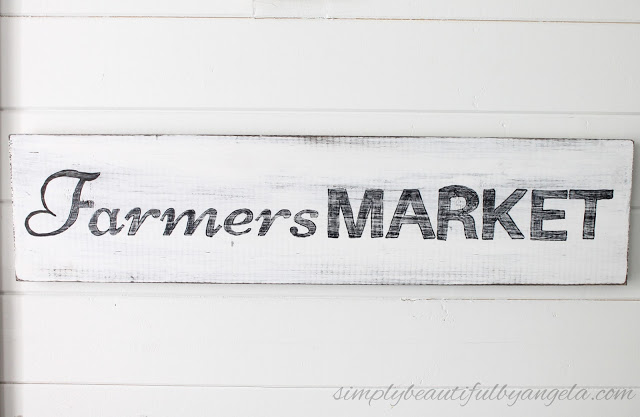
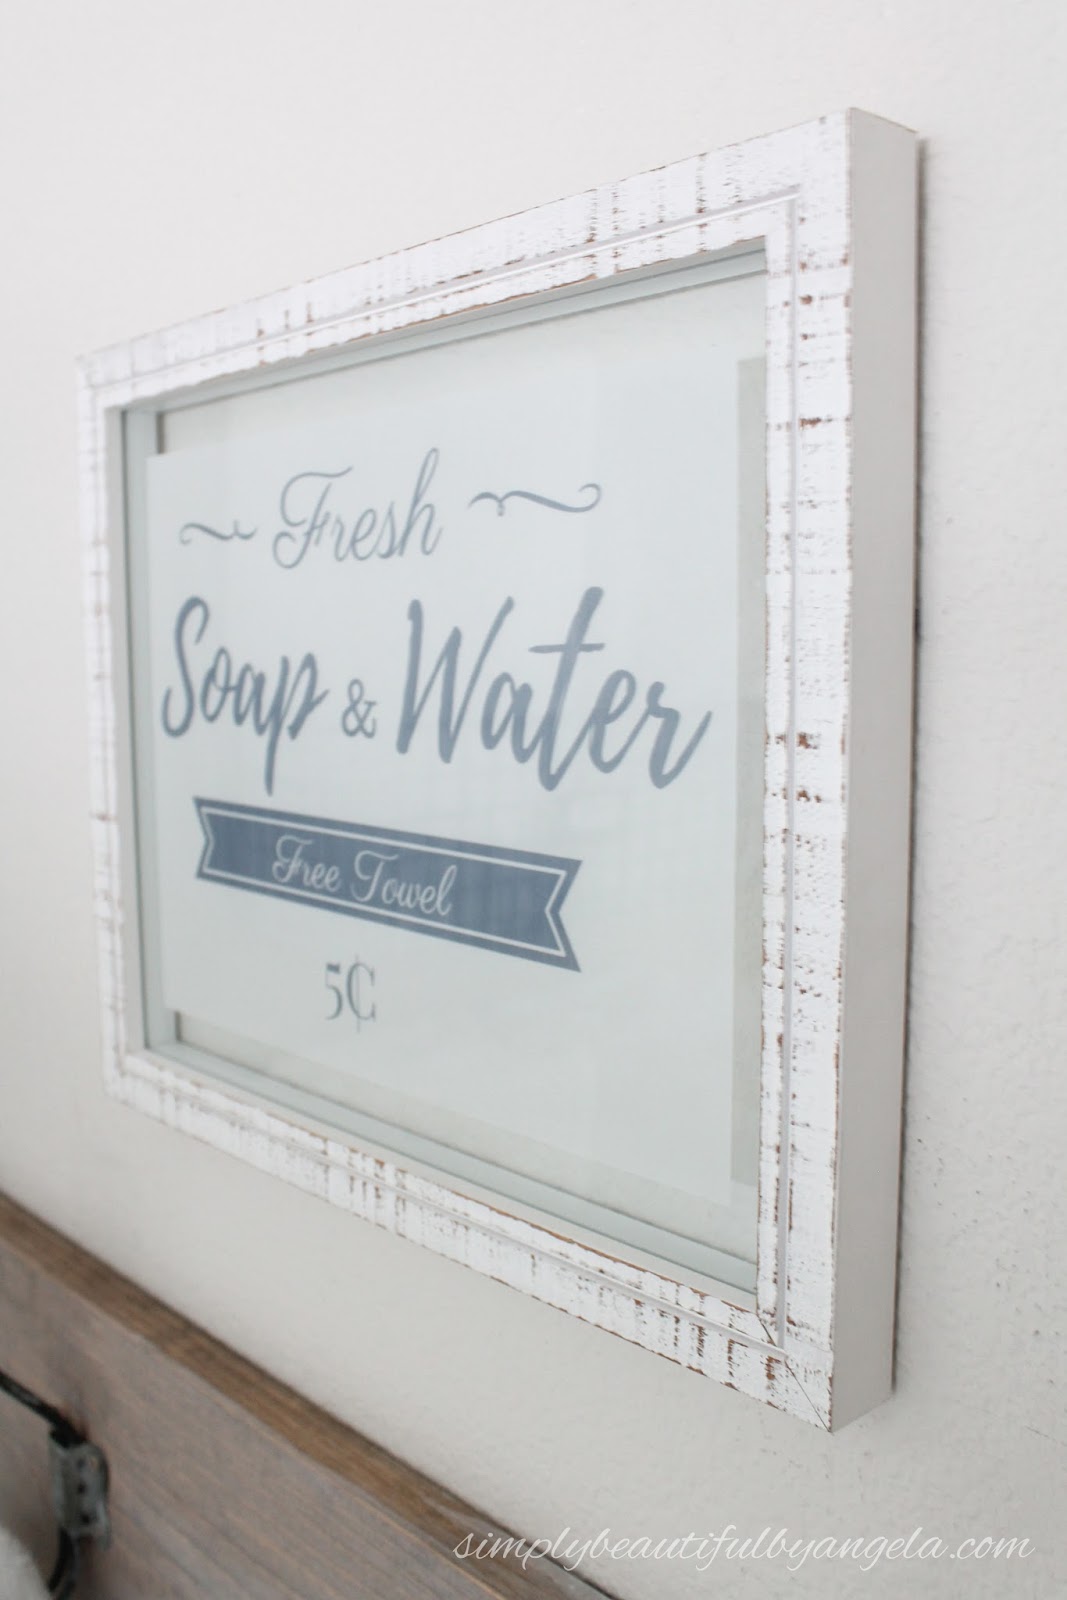
But some designs are way too intricate for this method.  When I made my art for our recent master bathroom makeover I ended up just printing it on some vellum paper and sticking in a floating frame.

 
Which don’t get me wrong, came out nicely!  But over the weekend I finally discovered a transfer method that literally takes 2 minutes and turns out completely flawless!
 
Supplies Used: (Affiliate links may be provided for convenience.  For more info, see my full disclosure here.) 
  • Printed Image
  • Wood
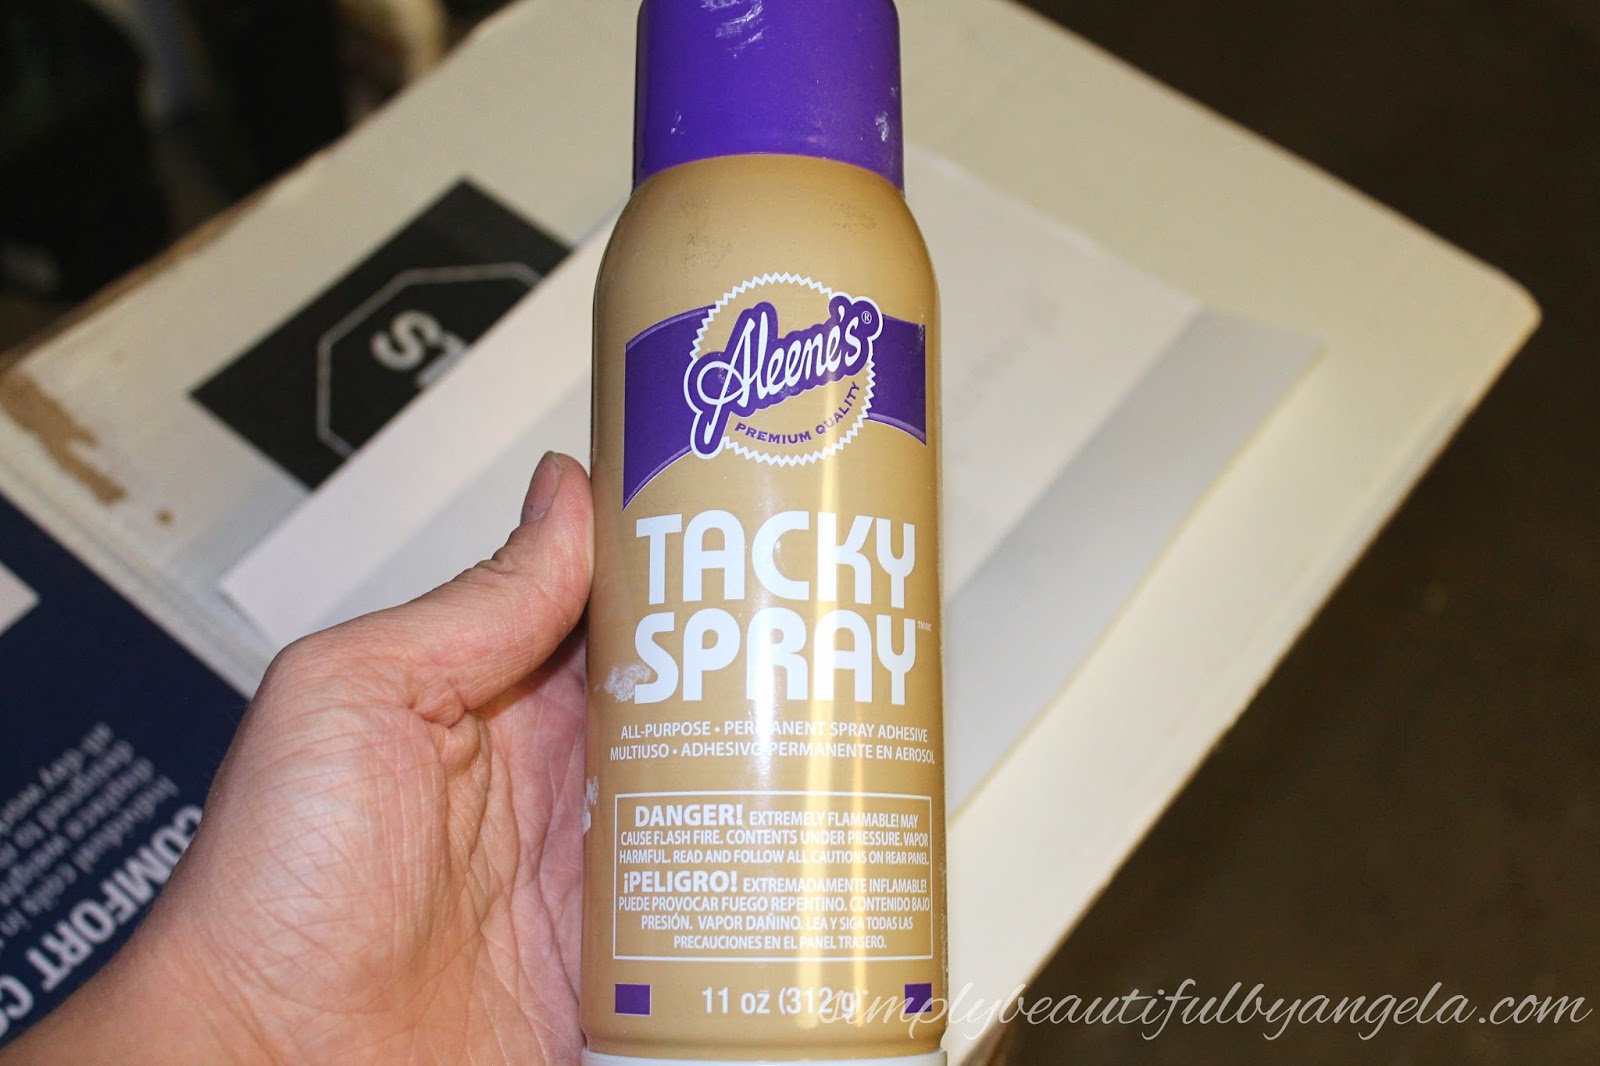
  • Tacky Adhesive Spray
  • Utility Knife
  • Sandpaper
  • Mod Podge Matte Finish
  • Chip brush
  • Old credit card
  • Acrylic paint

I began with a scrap  piece of 1×6.

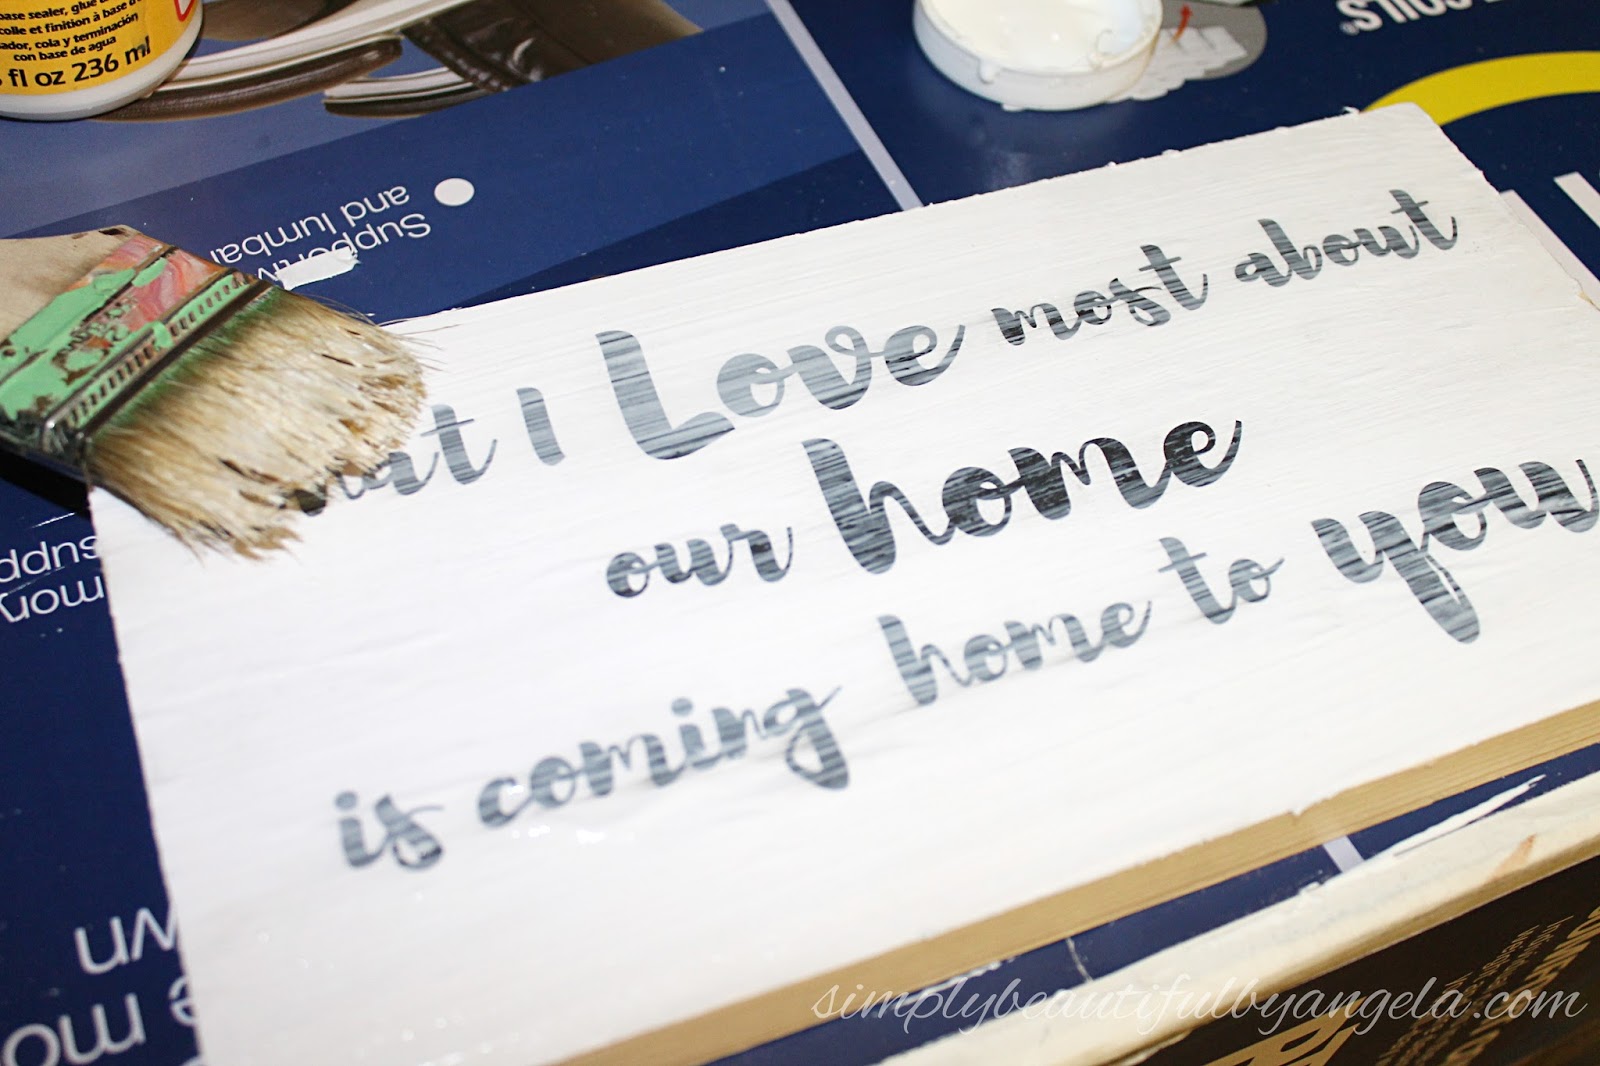
I then printed out my design on some plain white computer paper and centered it before folding the edges to make it easier to place later.

 
I lightly sprayed tacky adhesive spray on the back and then placed it back on to the wood following my creases.


Next, I used my utility knife to remove the excess paper and quickly sanded the edges to clean up any frayed paper.
 
 
Using my chip brush I applied a coat of Mod Podge over the paper.
 
 
This was my first time using Mod Podge on paper and I was horrified to see small bubbles and ripples start to form.  I immediately thought that the whole thing was ruined.
 
I ran a credit card across the surface to try to get them out which worked for most of them, but not all. However I was pleasantly surprised to see that they disappeared after a few minutes of drying.  It was like magic you guys!!
 
(oh and see that printer ink smearing?  Don’t fret.  You will see that it’s not even noticeable in the end)
 
I painted some acrylic paint along the edges of the wood (this step could be done first if you prefer).
 
(see those lovely bubbles?  Totally flattened out after about 30 minutes!)
 
I finished it up by dry brushing some acrylic paint on. This was the key to making the image look like it was printed on wood.
 
 
I just love how it turned out!


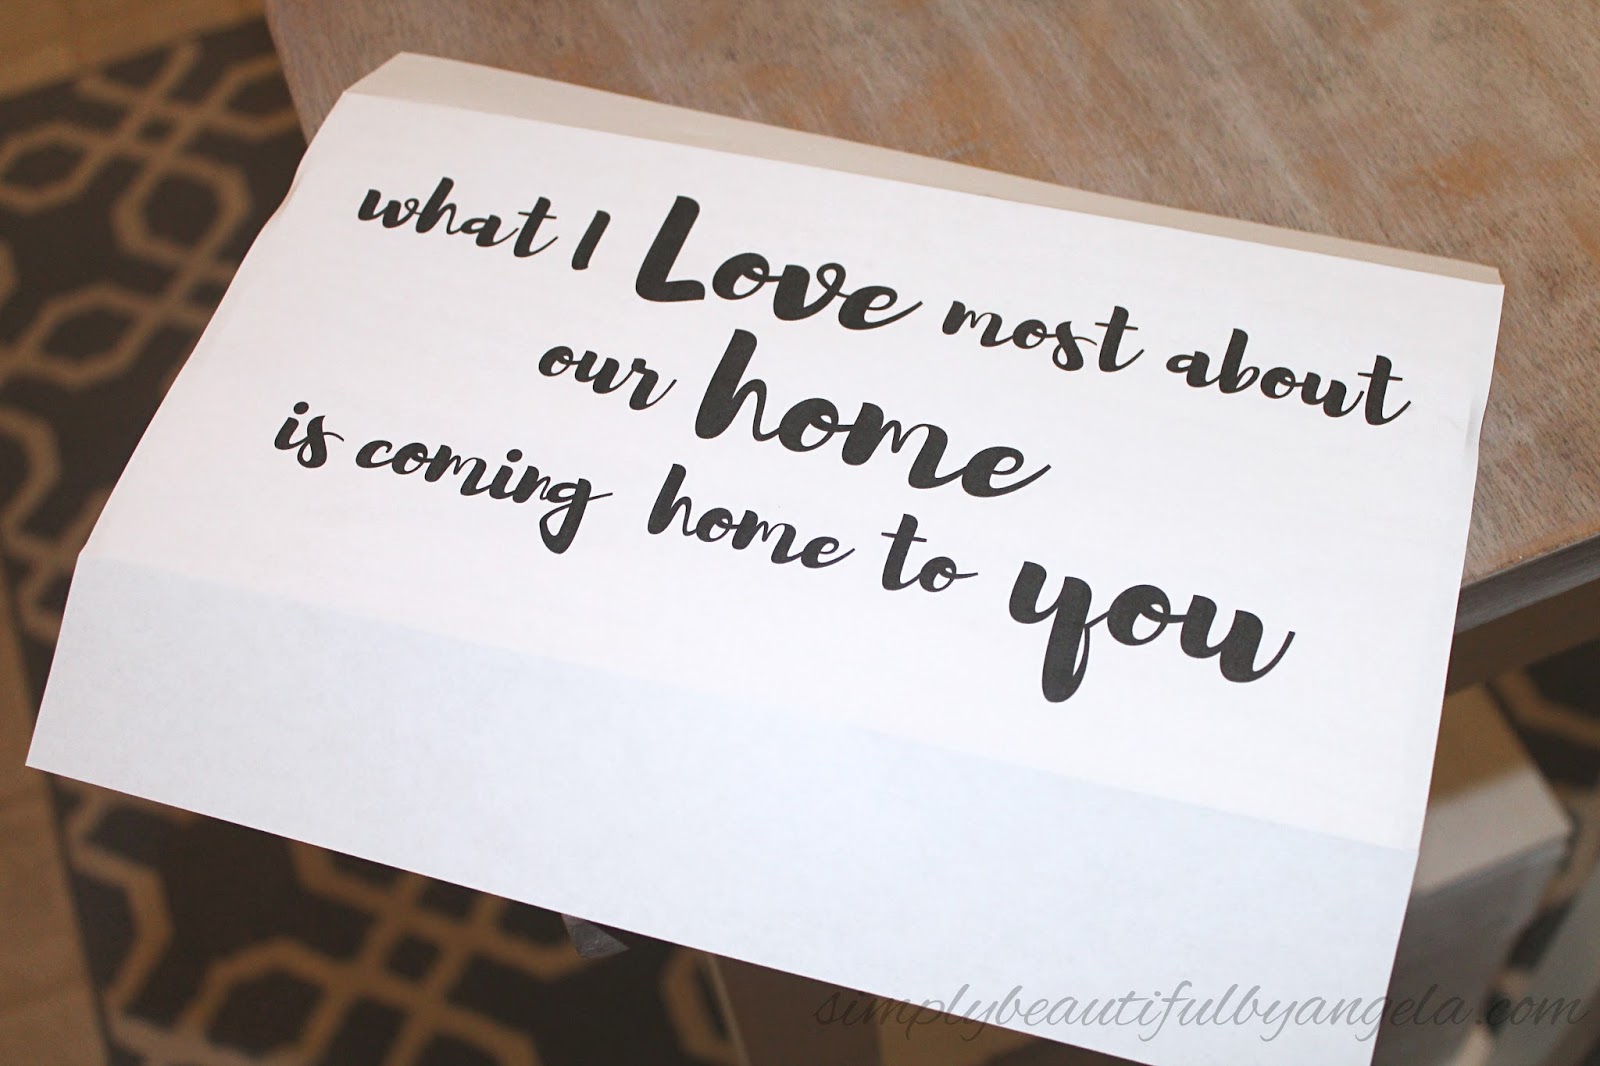
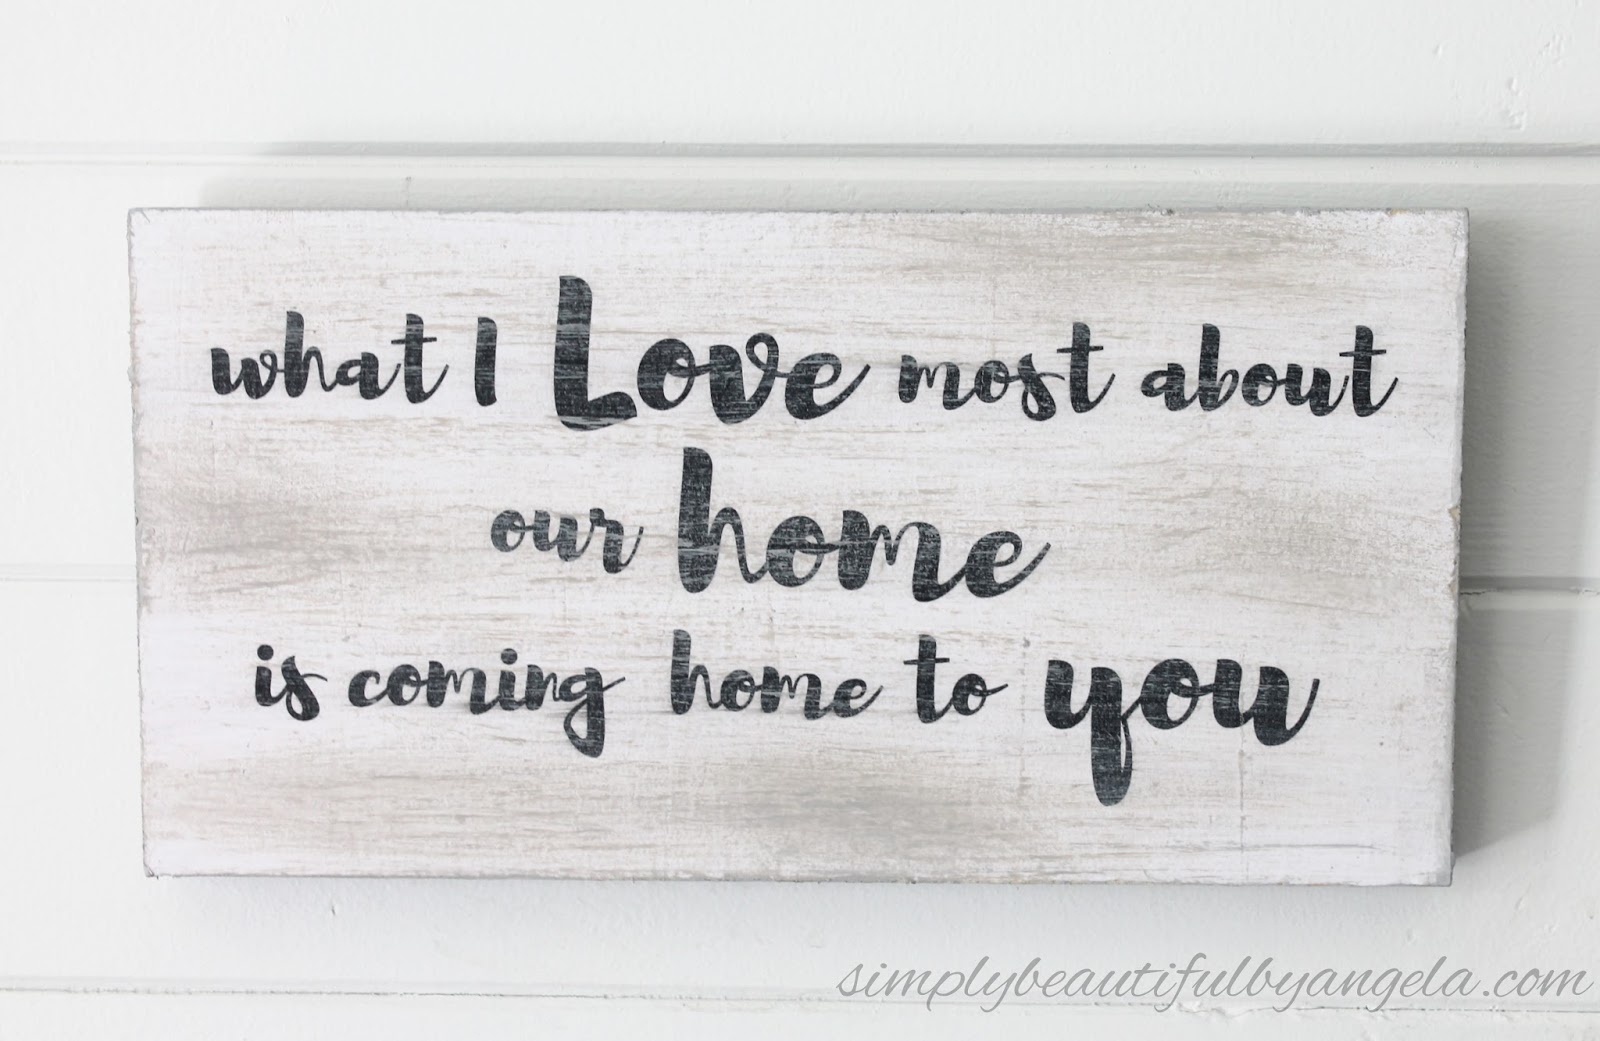
Pictures seriously don’t do it justice and I still can’t believe how such an easy and quick trick can look so realistic.

I also think it would look cool with some stained 1x2s framing it.

I’ll be back on Thursday to share my most recent curbside flip for this month’s Thrift Store Dรฉcor Upcycle Challenge with some of my favorite talented bloggers.  See you then! ๐Ÿ™‚

Linking up to these awesome parties.


ยท Labels: Uncategorized

Comments

  1. Jessica Harnack says

    June 20, 2017 at 5:01 pm

    This is really cute. Nice to know that this can look authentic with the printed page glued on!

    • Angela says

      June 20, 2017 at 9:26 pm

      Thanks Jessica! Pretty crazy concept, I'm amazed ๐Ÿ™‚

  2. michele says

    June 22, 2017 at 6:32 pm

    angela, you are a genius, and I feel inspired! I love the simplicity, and you have completely demystified the process for me. found you via the link party and would love to have you visit my post too! (http://www.hellolovelystudio.com/2017/06/come-enjoy-cupcakes-and-cocktails-in-my.html). peace to you right where you are.

  3. Julie Nyanyo says

    June 26, 2017 at 5:48 pm

    Clever idea, thanks. It looks great, pinning !

  4. Lindsey@dmv construction says

    June 27, 2017 at 7:12 am

    I am really a big fan of your projects. I love the way you designed this with your creativity. Thanks for sharing such an informative and interesting information.

  5. Ambient Wares says

    June 28, 2017 at 12:13 am

    I can't believe how great this looks! Such a wonderful job and it REALLY is soooo easy!! Thanks for sharing with us at Funtastic Friday!

  6. Sowpath das says

    July 10, 2017 at 10:16 am

    Nice and very helpful information i have got from your post : click here

  7. best assignment writing service says

    August 10, 2017 at 12:52 pm

    I really like all these Quotes..especially the best thing about home..it feels so good when that important person comes to our home.Thank you very much for sharing.keep posting

  8. Dung Maurice says

    September 18, 2017 at 3:17 pm

    Visit this website for some info on phone tracking applications

  9. Anonymous says

    October 23, 2017 at 9:34 pm

    What color did you brush on after?

    • Angela says

      October 25, 2017 at 1:10 pm

      It's a grayish brown ๐Ÿ™‚

  10. Anonymous says

    October 25, 2017 at 4:22 am

    Hello, I'm also wondering what color acrylic paint you used.. It looks grey, but it's hard to tell. It looks great!

    • Angela says

      October 25, 2017 at 1:11 pm

      It's a grayish brown ๐Ÿ™‚

  11. THE Stephanie says

    October 31, 2017 at 3:21 pm

    Did you just print on regular 8.5"x 11" paper? I guess if I wanted something larger I could have it printed elsewhere…

  12. khaled ali says

    March 24, 2018 at 9:39 pm

    ุดุฑูƒุฉ ุงู…ุณุช ู„ู„ุชู†ุธูŠู

  13. Anonymous says

    May 17, 2018 at 8:36 am

    hey friends if you are a gamer and want some amazing adventures game then try free robux its best game ever

  14. Madelyn says

    July 5, 2018 at 7:33 pm

    Ugh, amazing!!!

Theme by 17th Avenue · Powered by WordPress & Genesis