
It’s just pure madness to me that the year is already over. It seems like it came and went in such a flash. I definitely faced my fair share of struggles and obstacles throughout the year, but overall I experienced some wonderful moments and accomplishments.
I’ve never done this before but I thought that it would be fun to look back at the blog posts from good ol’ 2017 to see which ones were the most popular. You guys–I must admit that I was oddly surprised by a few of them!
Without further ado lets take a look back at the top posts from last year…
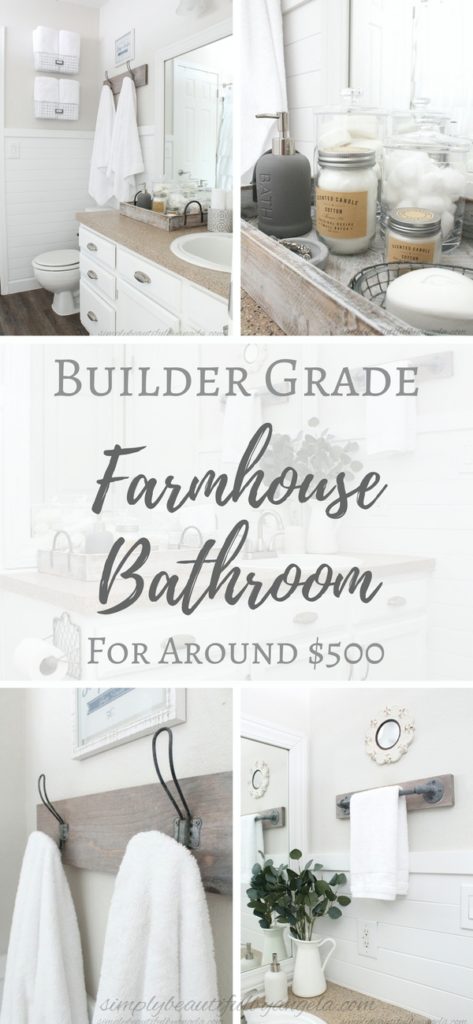
10. Builder Grade Farmhouse Bathroom
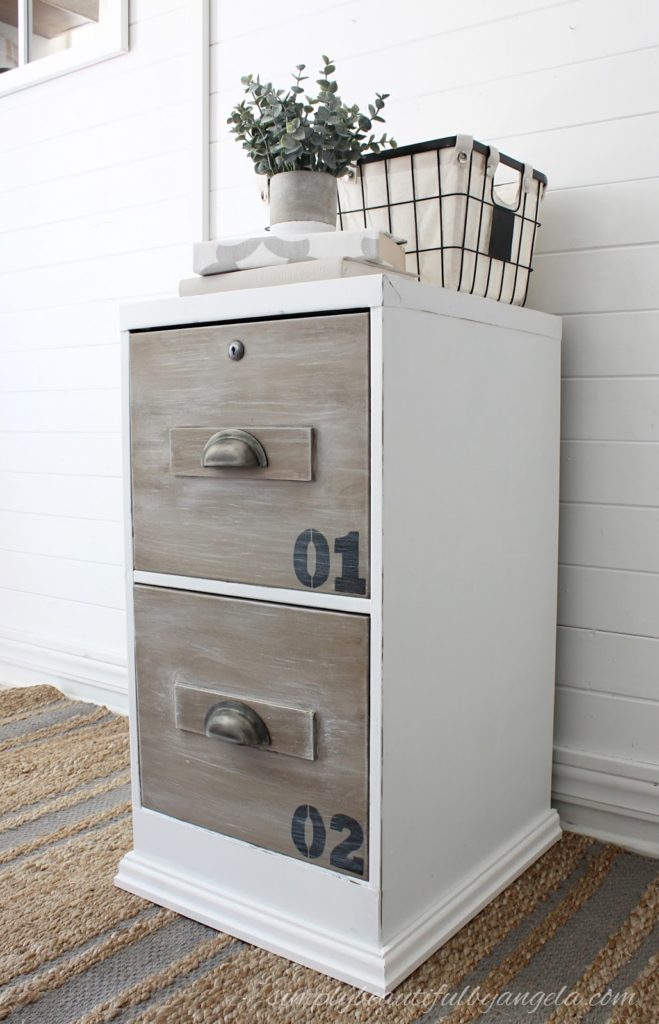
9. Dated File Cabinet Gets An Industrial Makeover
Last year I met a group of amazingly talented bloggers and started participating in the monthly Thrift Store Decor Upcycle Challenge. On the last Thursday of each month we take a thrifted item and give it new life by turning it into something new.
It’s been a lot of fun seeing what everyone comes up with but it’s also served as awesome motivation for me to upcyle which is one of my favorite things to do.
For one of the challenges I finally got around to giving an industrial makeover to an old file cabinet that I picked up from my neighbors curb. It just needed little but of paint, molding and new hardware!
8. DIY Wood Curtain Rods on the Cheap!
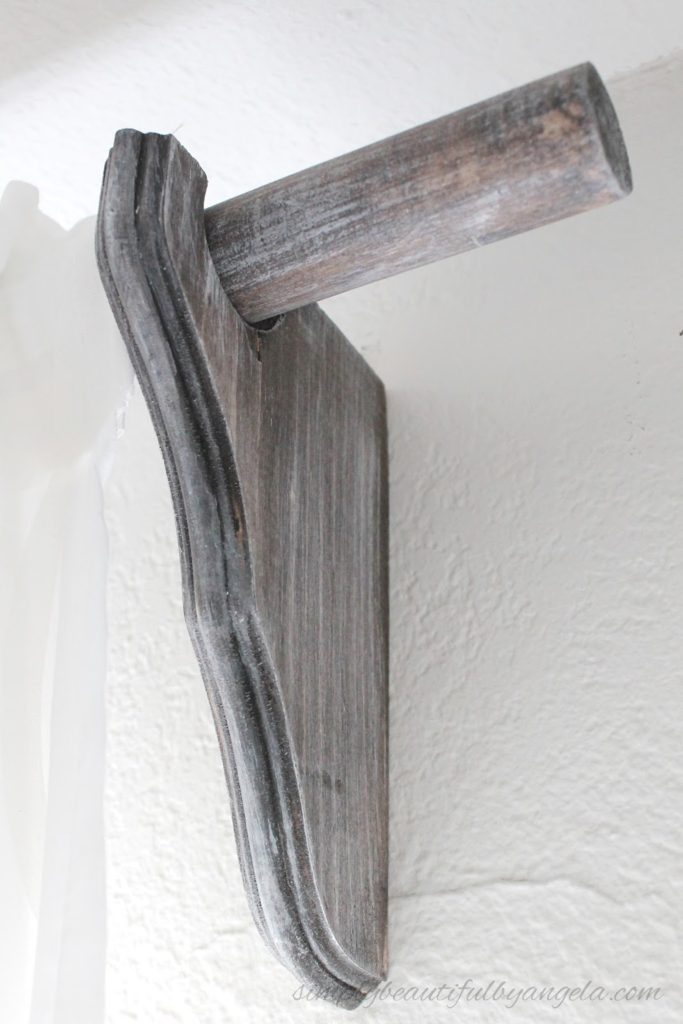
When I was designing our new master bedroom I knew that I wanted to replace our cheap curtain rods with some chunky wood ones to fit in with the farmhouse theme. However I experienced major sticker shock when I learned how much they go for!
So I did what I always do when I can’t afford something–I found a way to create my own! I used some inexpensive wood dowels and corbels from Home Depot. With the stain and paint treatment that I gave them they ended up looking like they came straight out of a Pottery Barn catalog.
7. Transfer Printed Image to Wood (The Easy Way!)
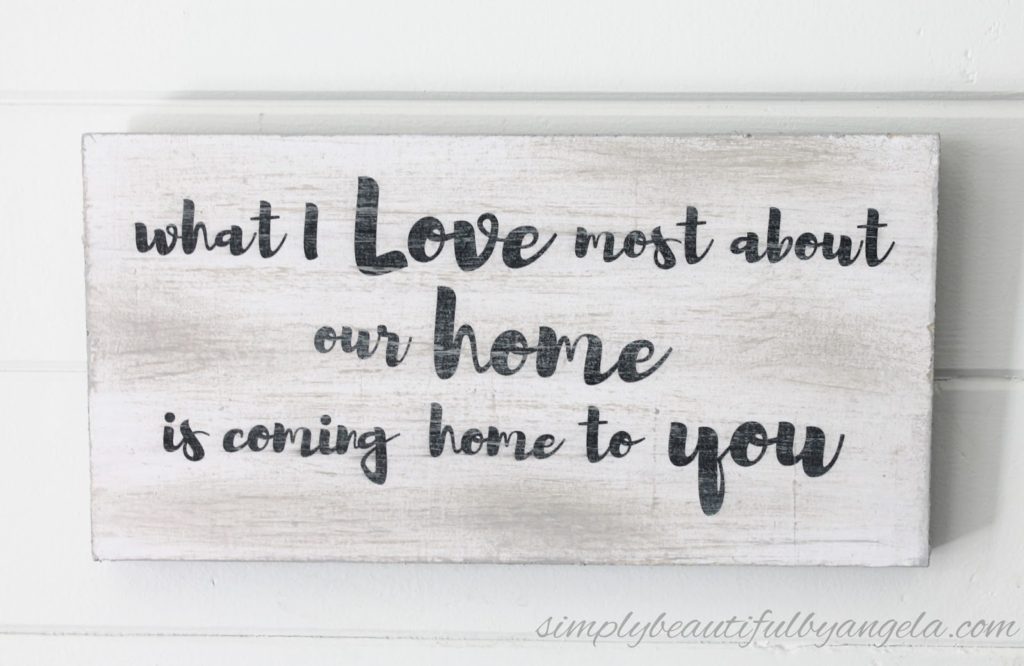
My new trick for creating wood signs is another super cheap project that I shared. I usually use the trace and paint method but sometimes there is just too much detail and I’m just pure lazy…
So for this sign I printed my design on my printer and then simply Mod Podged the paper to my wood. I then dry brushed over it to give it that weathered wood look.
6. Updated Peel & Sick Wood Look Floors Tutorial
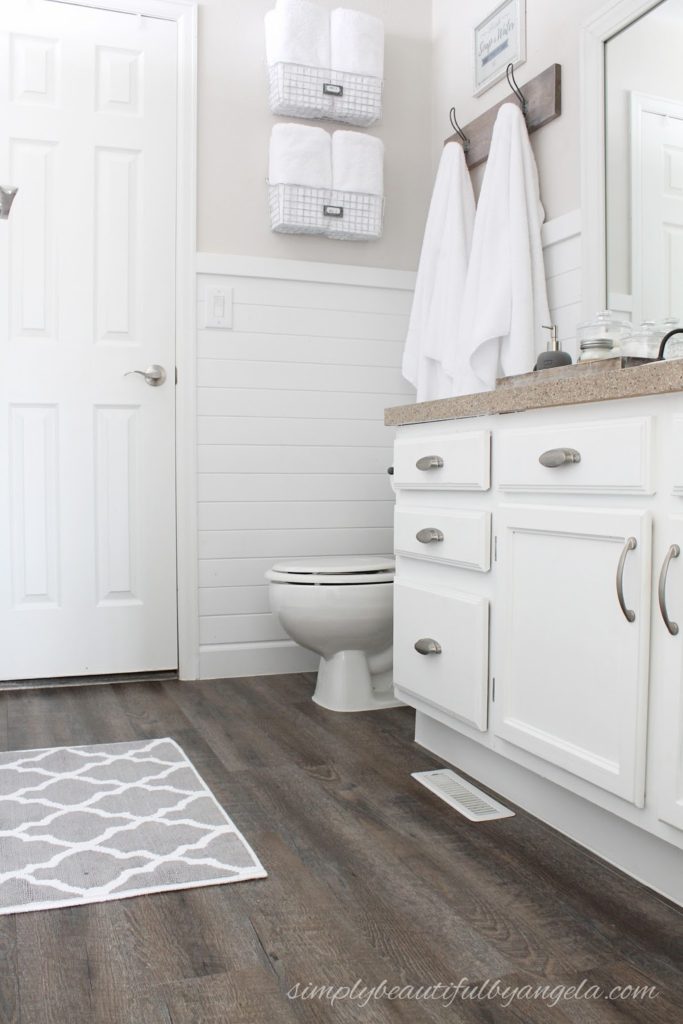
Two years ago I shared how I updated our guest bathroom floors for $20 using peel and stick wood look planks and it’s still one my most popular posts. I ended up doing the same thing in our master bathroom and took a gazillion more pictures of the process to share with you all in case you are thinking about trying them out.
They are much more durable than I thought they would be and even though they were originally going to be a temporary solution until we could afford something fancier, I’m happy to report that we still have them in our guest bathroom and probably will for many more years to come!
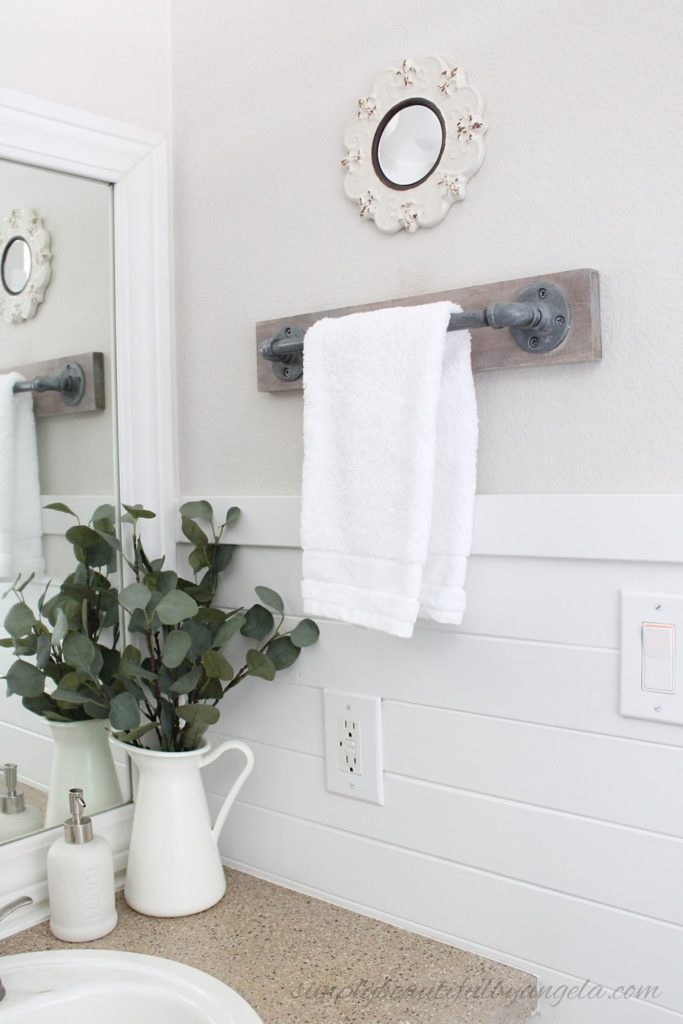
5. DIY Industrial Pipe Towel Bar
4. IKEA Rast Makeover (Take Two!)
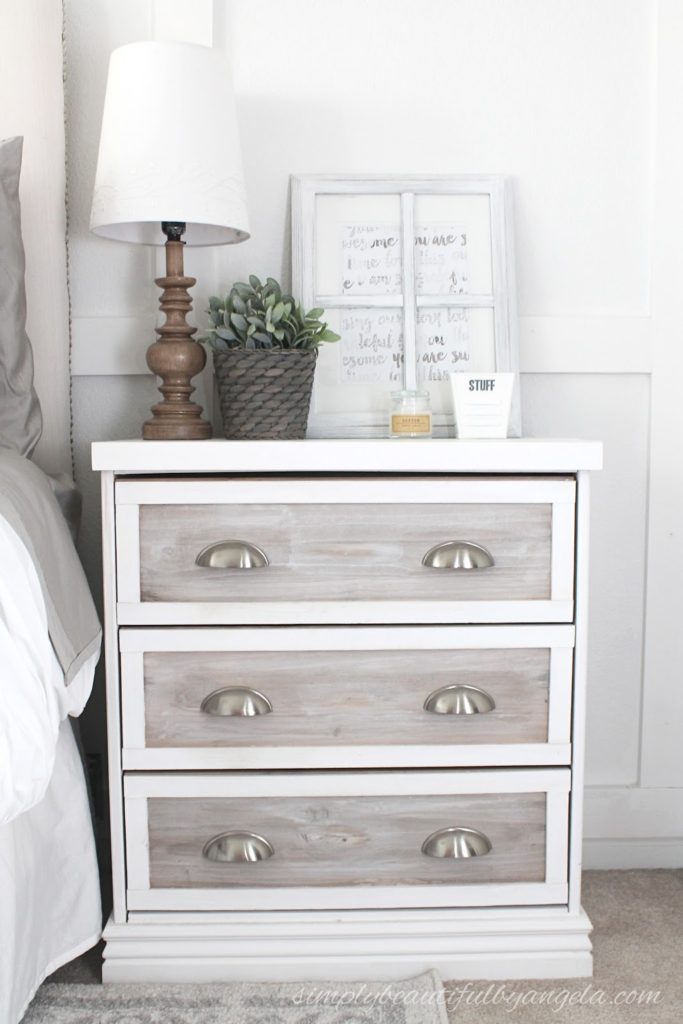
Around here I’m often not fully satisfied with they way a project turns out the first time. Heck, sometimes not even the second or third time either! When I gave a couple of IKEA Rast dressers their first makeovers to use as nightstands in our room they felt kind of unfinished.
So for our master bedroom makeover I decided to finally give them the update that they deserved. I was ecstatic with how they turned out. You would never guess that these guys were once just plain pine dressers that I snagged for $35, right?
3. 5 Thrifty Farmhouse Transformations With Only $8
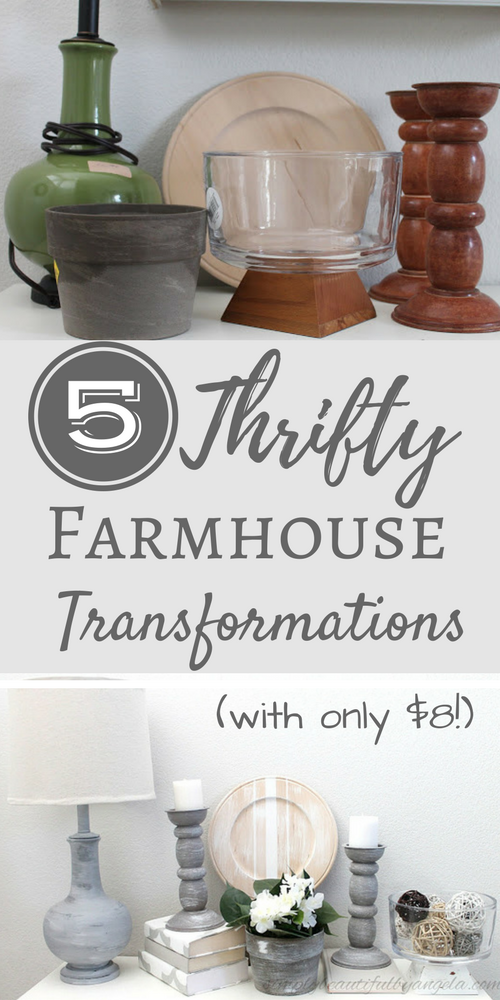
Some girls like to head to the salon for a treat but I’m a little strange because I would rather head to the thrift store to see what treasures I can find! I’m an odd one, I know.
As some of you may know it’s a hit or miss experience but one particular day I hit the jackpot and scored a ton of stuff for just $8. Yep you read that right! I shared how simple it was to give each item a small farmhouse style makeover using supplies that I already had.
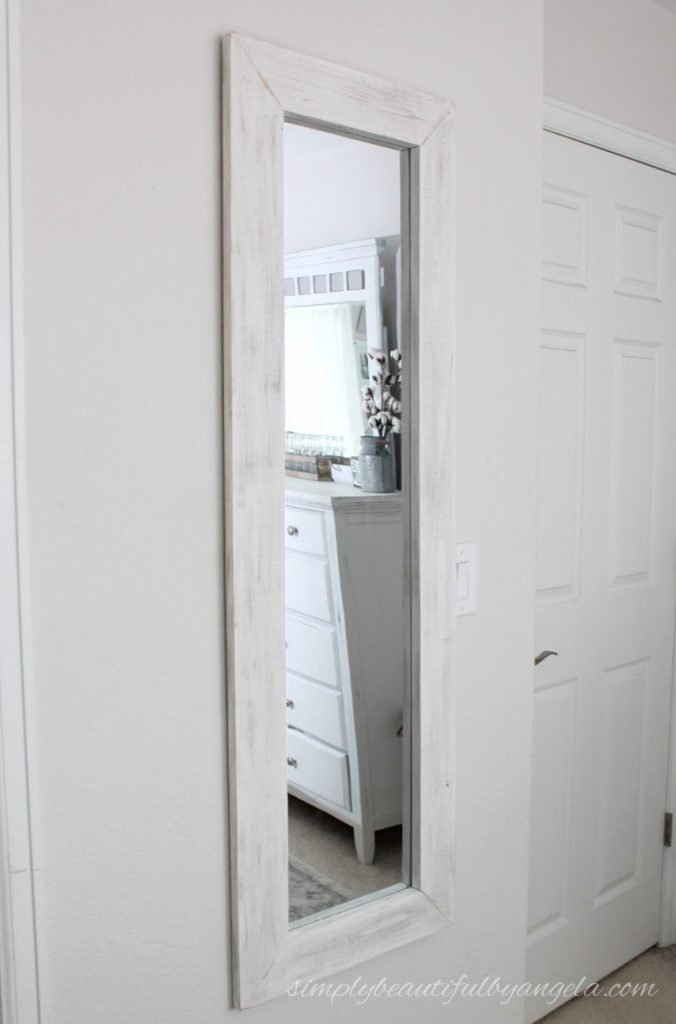
2. How to Reframe a Cheap Mirror
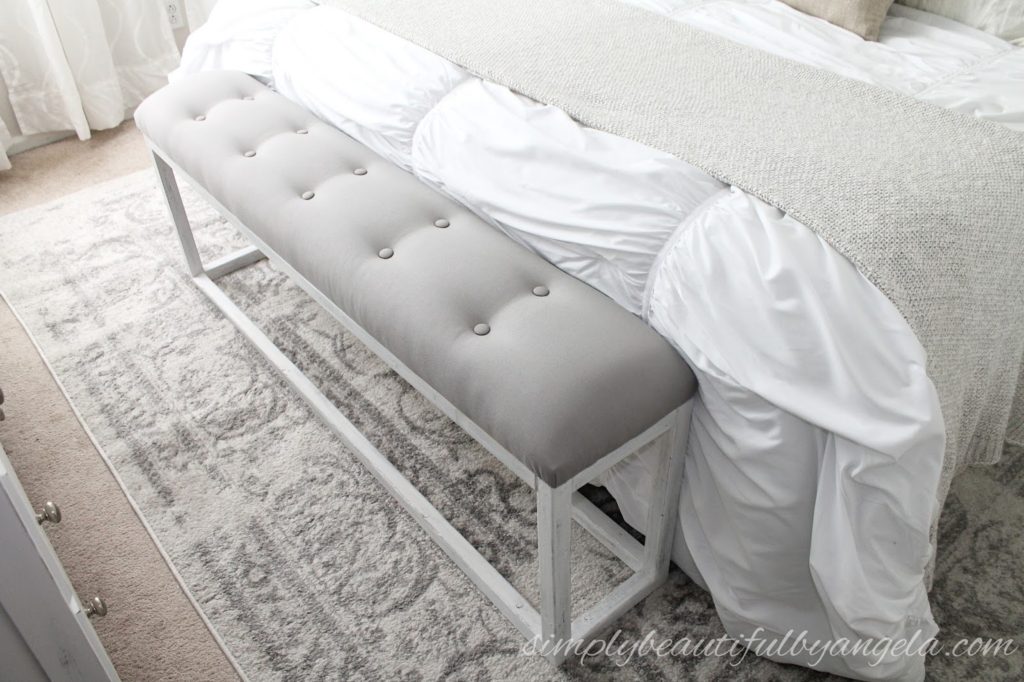
1. DIY Simple End of Bed Bench
And finally, the most popular post of 2017 was the simple bench that I made for the end of our bed. This one makes me laugh because it’s a project that was done on a total whim with very little planning.
While planning our farmhouse style master bedroom the thought of a bench never even occurred to me. However, after we got rid of our large sleigh bed I realized that we had a ton of extra space and I’ve always loved the look of a bench at the end of the bed. Since everything I found online either came up to big or pricey I decided to attempt making my own.
For $16 in lumber (I already had the materials for the upholstered portion) I was able to create one of my favorite and most utilized additions to our room.
So there you have it my friends! Thank you so much for all of your love and encouragement this past year. It seriously means the world to me that someone other than my husband actually takes the time to read my blog and your kind words truly keep me going.
Alright, enough with the mush. I have a ton planned for 2018 and am excited to see how it all plays out. I’ll be back next week, until then I hope you all have an amazing weekend!